
Blog Posts•Navitabs - Navigation Macros for Confluence
Comparison of different tab solutions in Confluence Cloud and Data Center
See our comparison of tab solutions, including Composition Tabs, Tabs+ Pro, and Navitabs.
Jan 13, 2025
Though Confluence is a great wiki platform, it has limitations. Managing multiple spaces, organizing lengthy pages, and quickly finding content can be challenging. The platform also lacks native features for creating custom menus and personalizing the workspace, which can make navigation and content management harder.
Here’s where SubSpace Navigation for Confluence and Navitabs – Tabs for Confluence apps come into the picture: the former offers centralized navigation, while the latter simplifies page organization with tabs. When used together, you’ll get a robust user experience that improves Confluence’s native features.
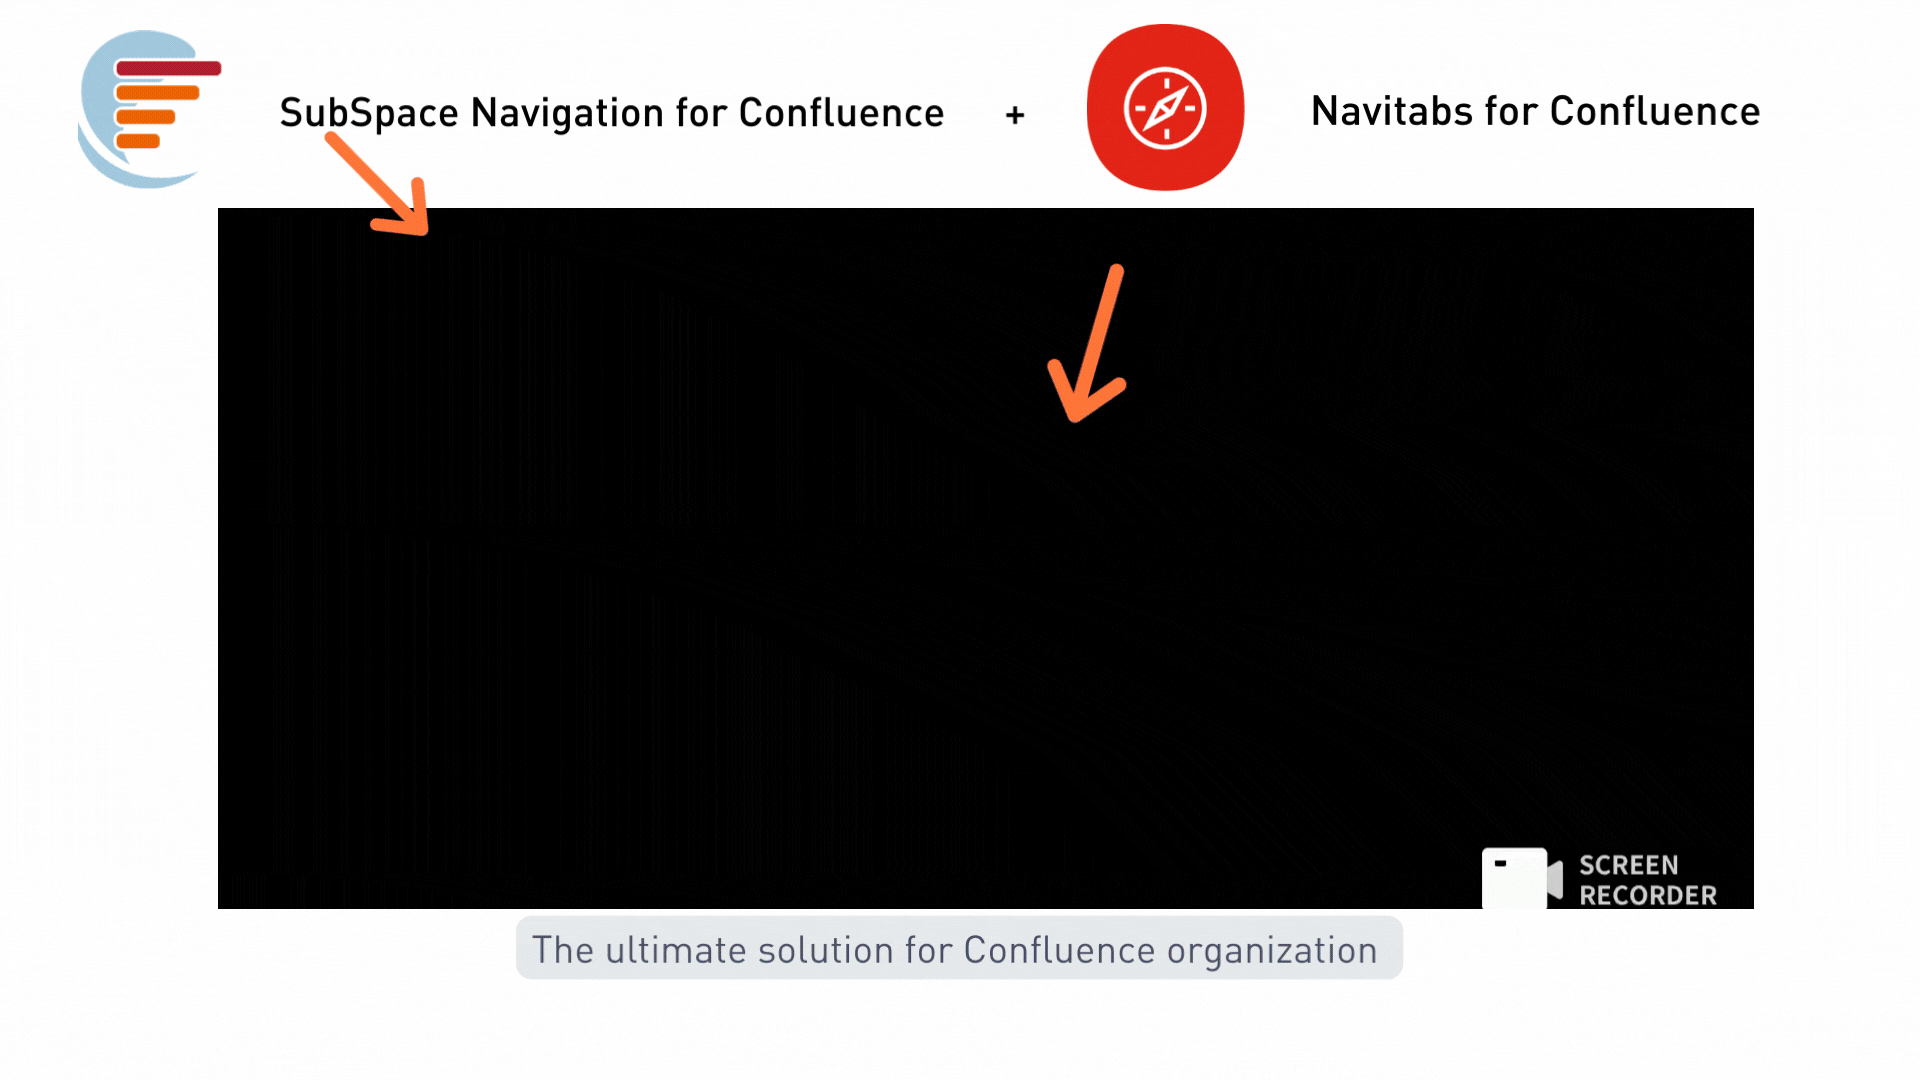
Continue reading to learn how to personalize your Confluence workspace with these two apps, making it more efficient and user-friendly with custom menus and tabbed content.
| Double the Value, Double the Efficiency—get SubSpace Navigation for Confluence or Navitabs—Tabs for Confluence and Start Personalizing Confluence like a pro! Your Confluence deserves to be personalized! Get started today with a one-month free trial, product demos, dedicated support, and a limited-time offer on SubSpace Navigation for Confluence and Navitabs – Tabs for Confluence. How to Redeem Your Promo Code *The offer is valid for one app only. You must own or purchase the other app before receiving the discount. |
Getting Started with SubSpace Navigation for Confluence
SubSpace Navigation for Confluence is an app that simplifies organization and navigation in Confluence. Admins can create a centralized navigation menu that includes spaces, pages, folders, and external links, thereby improving accessibility and user experience within the wiki.
To begin, install SubSpace Navigation for Confluence from the Atlassian Marketplace. Choose between the Cloud or Data Center versions, depending on your setup. Only Confluence Administrators can install and configure the app.
Next, it’s time to set up your personalized site-wide menu. The app allows you to add five types of menu items:

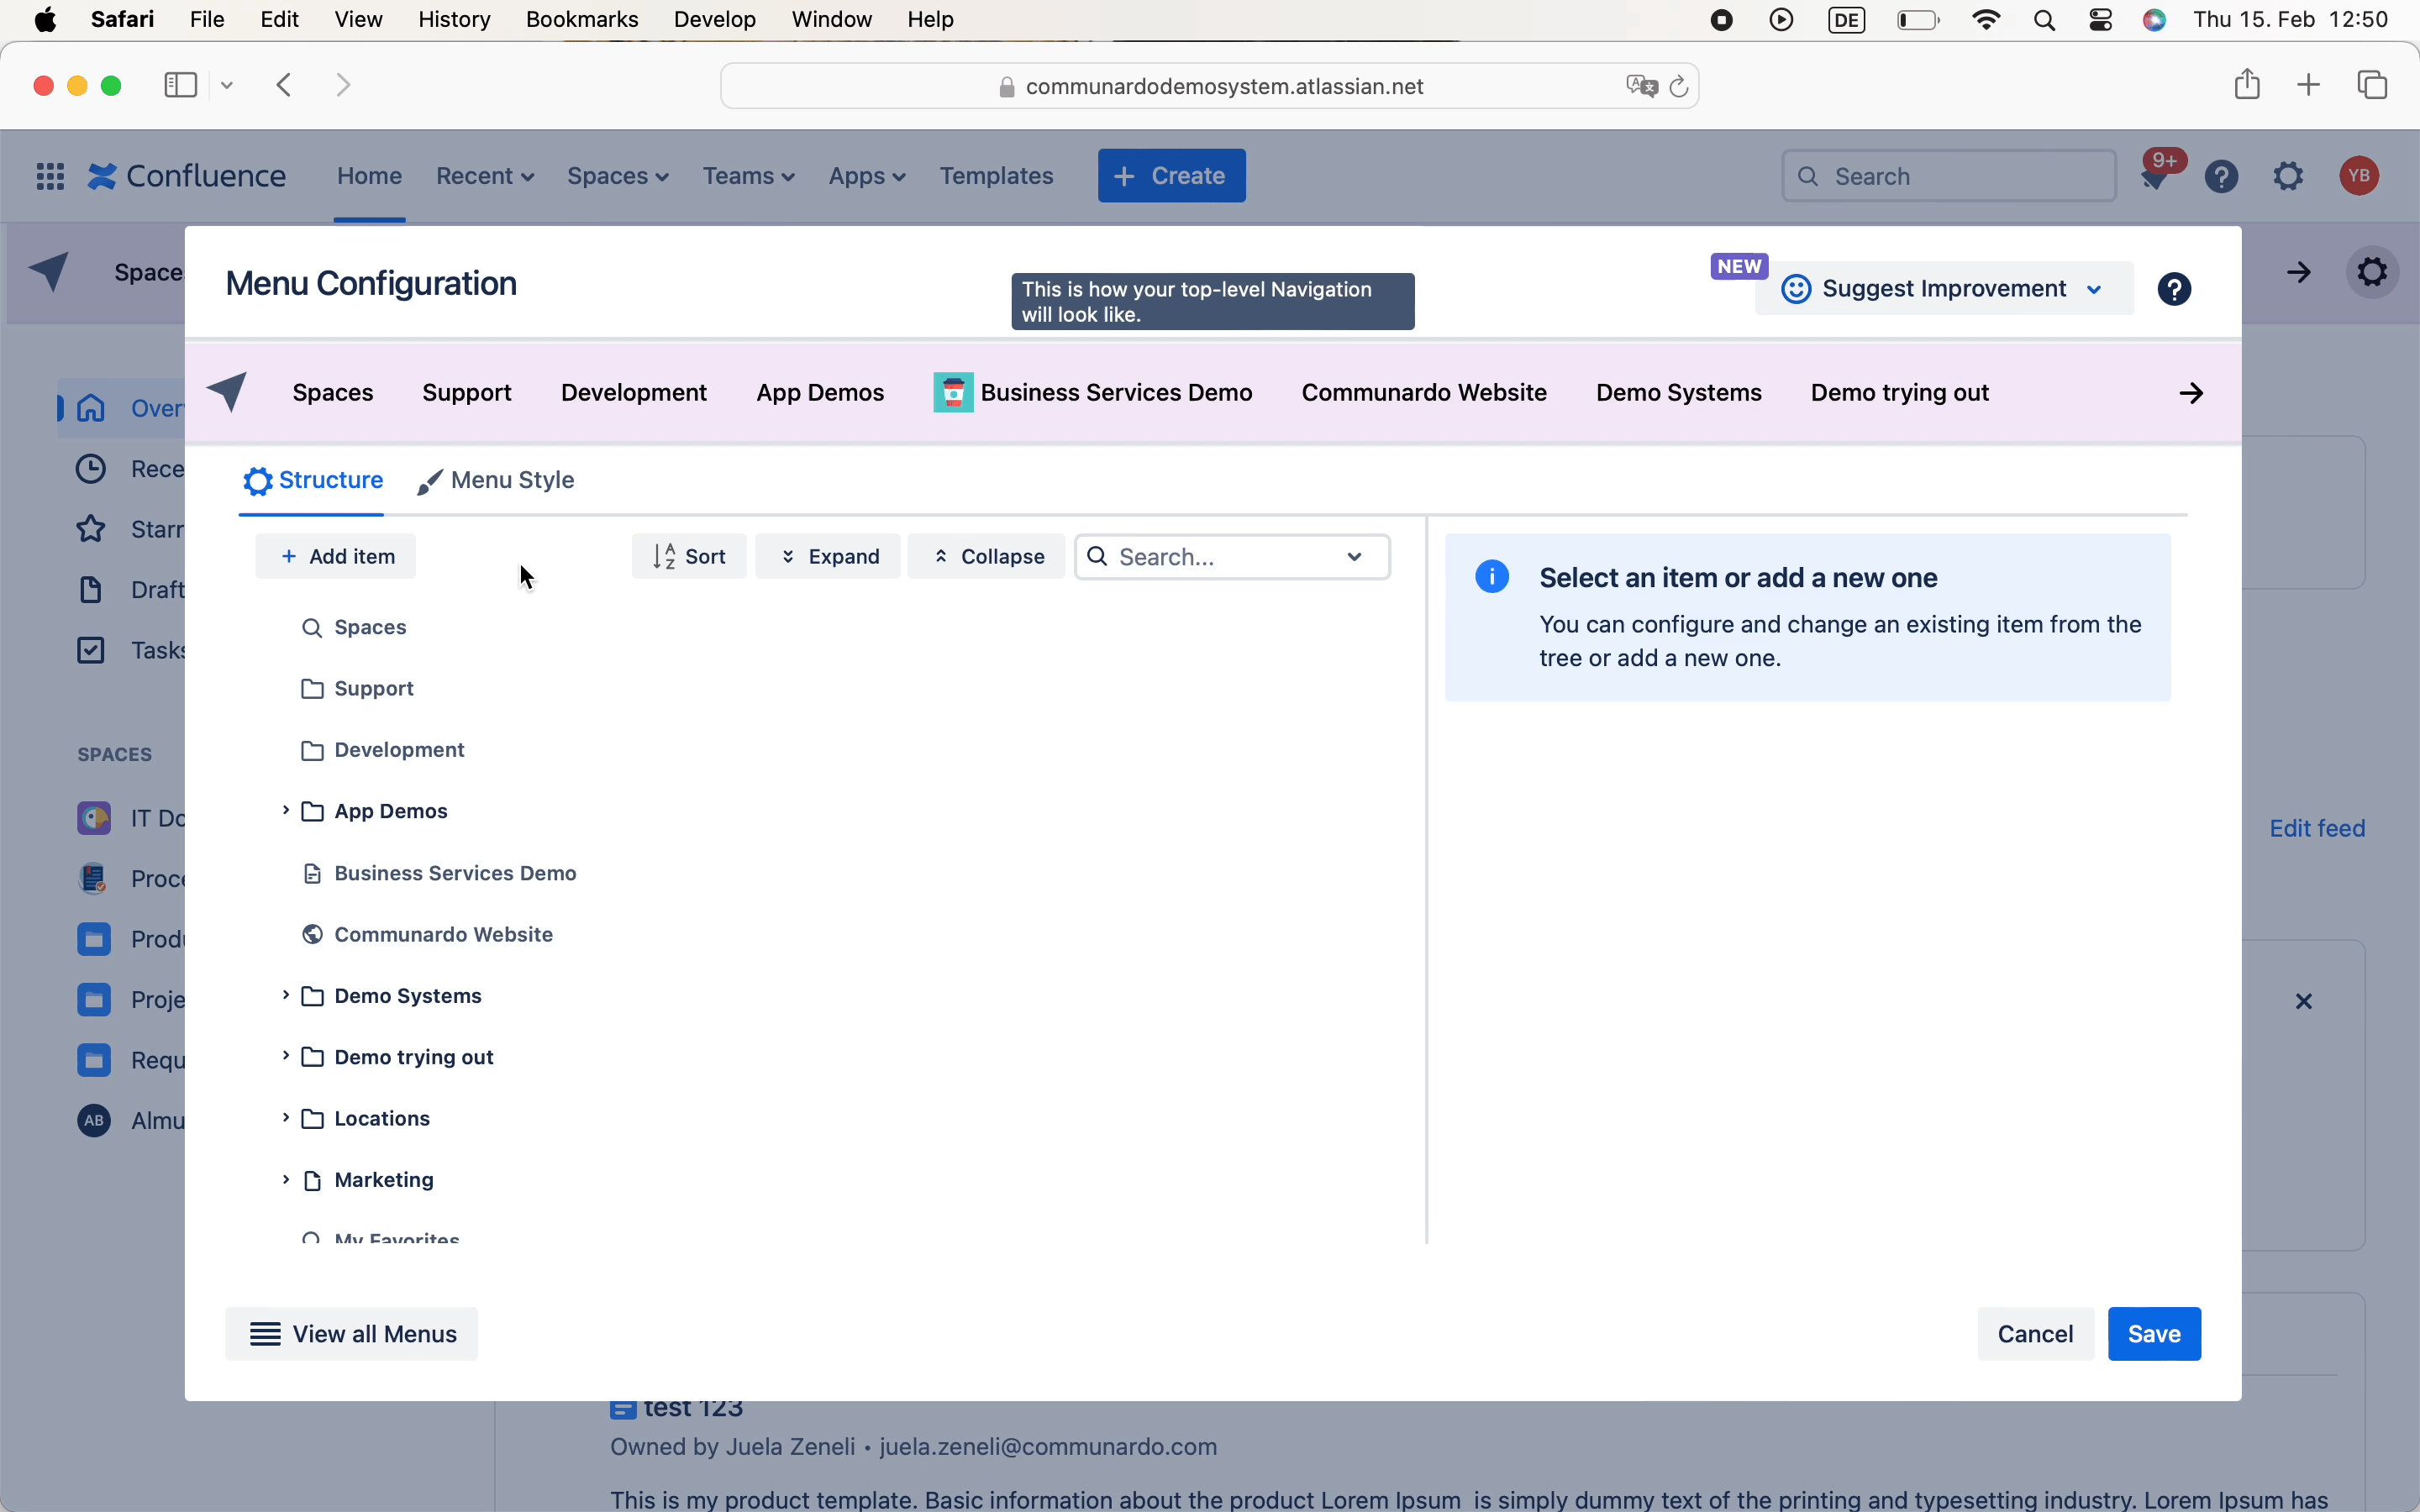
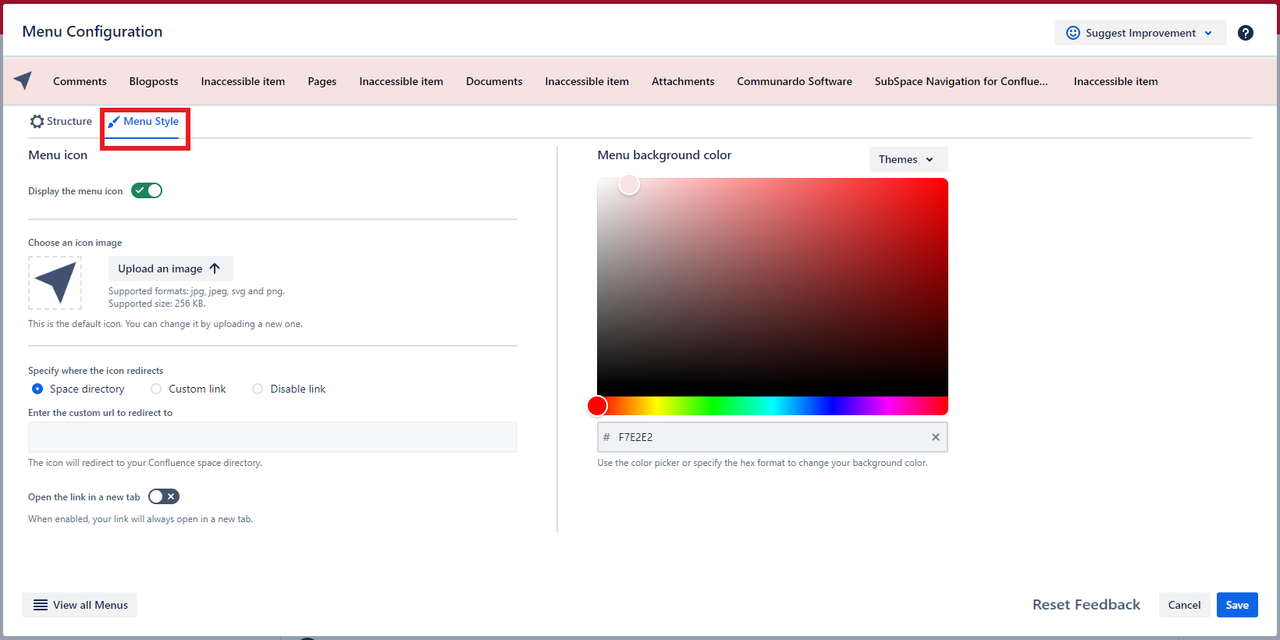
You can utilize the following app features to improve your user experience further:
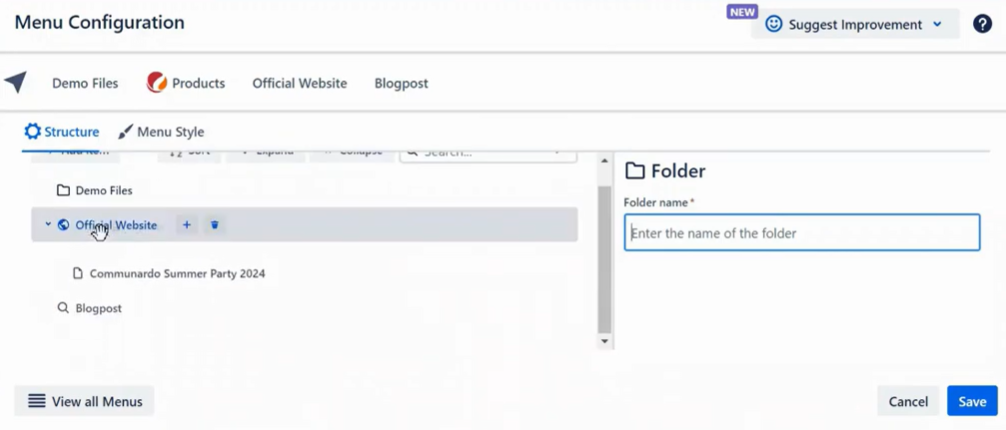
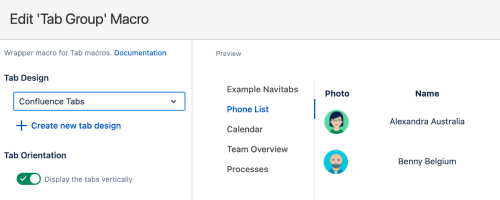
Navitabs allows you to structure your Confluence page into multiple tabs by inserting existing Confluence pages, automatically creating tabs using labels or child pages, and using iframes. In addition, customization options ensure that your tabs match your corporate identity.


Both apps can significantly improve Confluence’s navigation and content organization when used together. Here are some of the powerful SubSpace and Navitabs use cases you can get by doing so:
SubSpace Navigation organizes articles by categories like “Account Issues,” “Technical Problems,” and “Billing Queries.” Navitabs within each article separate content into “Problem Description,” “Solution Steps,” “Related Articles,” and “Contact Support” tabs.
SubSpace Navigation categorizes campaigns and provides quick links to each campaign space. Within each campaign page, Navitabs separates content into “Content Strategy,” “Design Assets,” “Budget Tracker,” and “Performance Analytics.”
In conclusion, combining SubSpace Navigation and Navitabs boosts your Confluence workspace by improving navigation and content organization. Whether for product documentation or onboarding, these must-have Confluence apps make managing and accessing information easier.
Take advantage of the SubSpace & Navitabs ongoing bundle promotion, which includes a one-month free trial, product demos, and comprehensive support—all at a discounted price. Try the bundle today to organize your Confluence environment well!
| Double the Value, Double the Efficiency—get SubSpace Navigation for Confluence or Navitabs—Tabs for Confluence and Start Personalizing Confluence like a pro! Your Confluence deserves to be personalized! Get started today with a one-month free trial, product demos, dedicated support, and a limited-time offer on SubSpace Navigation for Confluence and Navitabs – Tabs for Confluence. How to Redeem Your Promo Code *The offer is valid for one app only. You must own or purchase the other app before receiving the discount. |

